User Guide for ImageView Microscope Camera Software
ImageView is a powerful camera software designed specifically for microscope cameras. It provides a range of features and tools to enhance your microscopy imaging experience. This user guide will walk you through the main functions and usage of ImageView, allowing you to capture, view, and process high-quality images using your microscope camera.
Installation and Setup:
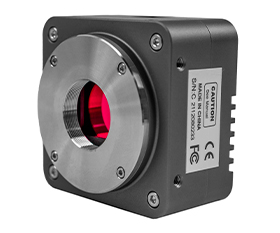
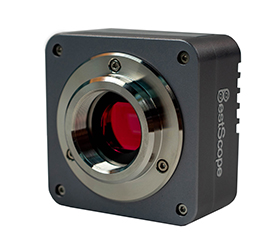
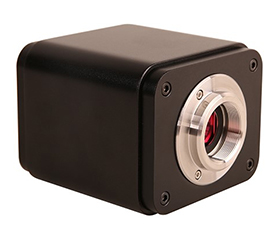
1. Ensure that your microscope camera is properly connected to your computer. ( Depending on the camera, it can be connected to the computer in different ways, such as USB port, Wifi mode, LAN port etc.. Each application requires a different hardware environment.)
2. Download and install ImageView software from the official website.
https://www.bestscopeus.com/software/
3. Install ImageView on your PC or install ImageView App on the mobile device; Run the software ImageView, clicking the camera name in the Camera List group to start the live view as shown in Figure 1.
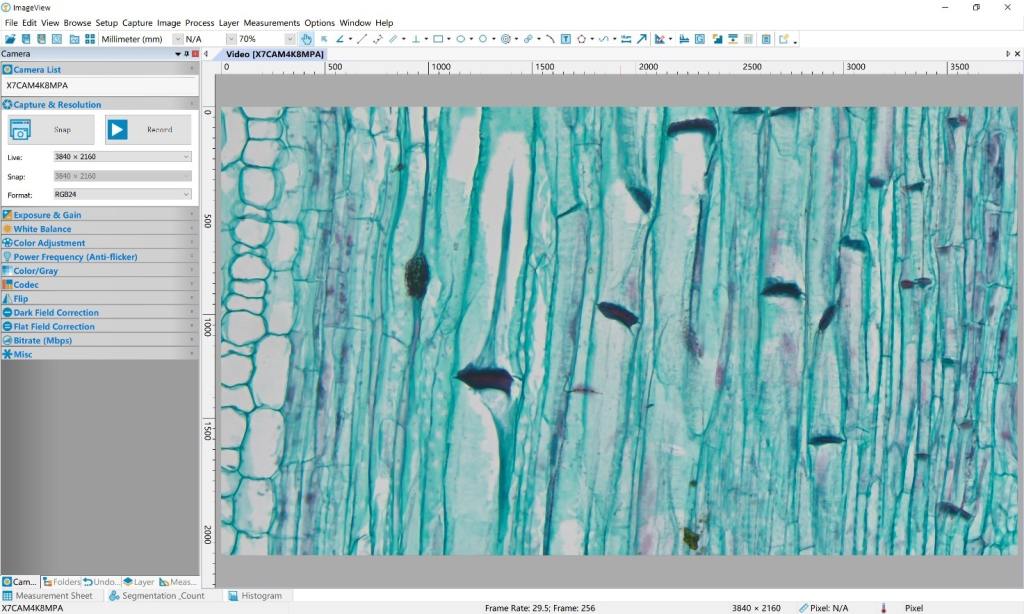
Figure 1
What are the main functions and usage of ImageView?
1. Live Stitch and Image Stitch
Stitching is a technique that automatically combines overlapping images captured by the microscope camera to create a wide-field, stitched image. The software analyzes the common features in the overlapping regions and aligns and blends the images to create a continuous, high-resolution composite image. This stitching process occurs in real-time, allowing you to view the stitched image as you move the microscope stage.
Live Stitch allows real time stitching in video mode. Users could get an overview of the stitching area and the stitching results could be updated immediately when frames in video mode is updating. Automatic alignment and blend is applied during operation to achieve the best quality.
Live Stitch
Image Stitch
2. High Dynamic Range (HDR)
High Dynamic Range can fuse a sequence of multi-exposure images into a high dynamic range image. The user can capture the multi-exposure images by adjust the aperture of microscope or the Exposure Time and the Analog Gain in the Exposure & Gain group on the Camera Sidebar.
High Dynamic Range function in 2 modes: Image window operation and Browse/Thumbnail window operation
HDR
3. Live Window EDF
Live EDF allows you to capture a fully-focused image for specimens whose thickness exceeds the microscope depth of field. Available for any manual microscope, Live EDF solves the depth of field issues that often plague Entomologist, Botanists, and Parts and Material manufacturers. Automatic alignment is applied during operation to achieve the best performance in case there is a slightly FOV (field of view) shift.
The characteristics of Live EDF is listed below:
1). No motor stage or focus drive needed
2). Works with any camera
3). Users need not be concerned about;
Specimen Thickness
Focus direction or evenness
Starting or ending focus point
Z thickness
# of Z planes required
Camera/Stage orientation
Stereomicroscope image shift
4). Prevents damage caused by specimen flattening
5). Works in Fluorescence applications
6). Live EDF is not designed to:
Retain Z axis information
Produce a 3D image
Live EDF
4. Color Composite
The Color Composite function combines gray-scale images into a color composite. Any group of gray-scale images that are of the same size can be mixed in a color composite. Images of 8-, 12-, 16-bit integer or floating point format are combined into a 24-bit color composite. Each input channel will have individual LUT adjustments, as well as a registration offset to line it up with the rest of the images. It is also possible to combine individual channels from a single image.
Image Fluorescence Composite
Live Fluorescence Composite
5. Manual Cell Counting
Manual cell counting is still the golden standard method of cell counting in many labs but the time at the microscope counting cells is both laborious and time-consuming.
The App’s Manual counting method is a “touch count” method. As a fact, the user “touches”, e.g. clicking with the mouse every single object to be counted on the image. It is possible to count different object categories and label them with different Types and Colors, in order to separate them in a proper way.
Manual Cell Counting
6. Measurements
The Measurements menu is mainly used for the image measurement. With this menu, you can measure the image with many geometrical shape at ease. The App uses Layer technique to manage the measurement object. This will never pollute the image pixels.
The main functions of ImageView are: length measurement, area measurement, angle measurement, diameter measurement, perimeter measurement, calibration measurement.
Calibration
7. Report
The reports serve multiple purposes, including:
1). Documentation: Reports capture essential details about the imaging setup, specimen, experimental conditions, and parameters used during the observation.
2). Communication: Reports facilitate the clear and concise communication of findings, enabling researchers to share their results with colleagues, collaborators, or supervisors.
3). Analysis and Interpretation: Reports present quantitative and qualitative analysis results, allowing for a comprehensive understanding of the observed structures and phenomena.
4). Archival and Reference: Reports serve as a record of the observations, enabling future reference, replication of experiments, or further analysis.
ImageView provides the option to export reports in Word and Excel formats.
Report
If you have any question about the software ImageView, please feel free to contact us.